

Welcome to your G3 Drones for Good kit! Included here is everything you will need to build a drone.

The easiest way to make a frame for your quadcopter is with the K’Nex included in your kit. The advantage of using K’Nex is that when the drone is crashed, the frame typically won’t break in any permanent way, because the K’Nex pieces will disconnect from each other rather than the plastic breaking permanently.
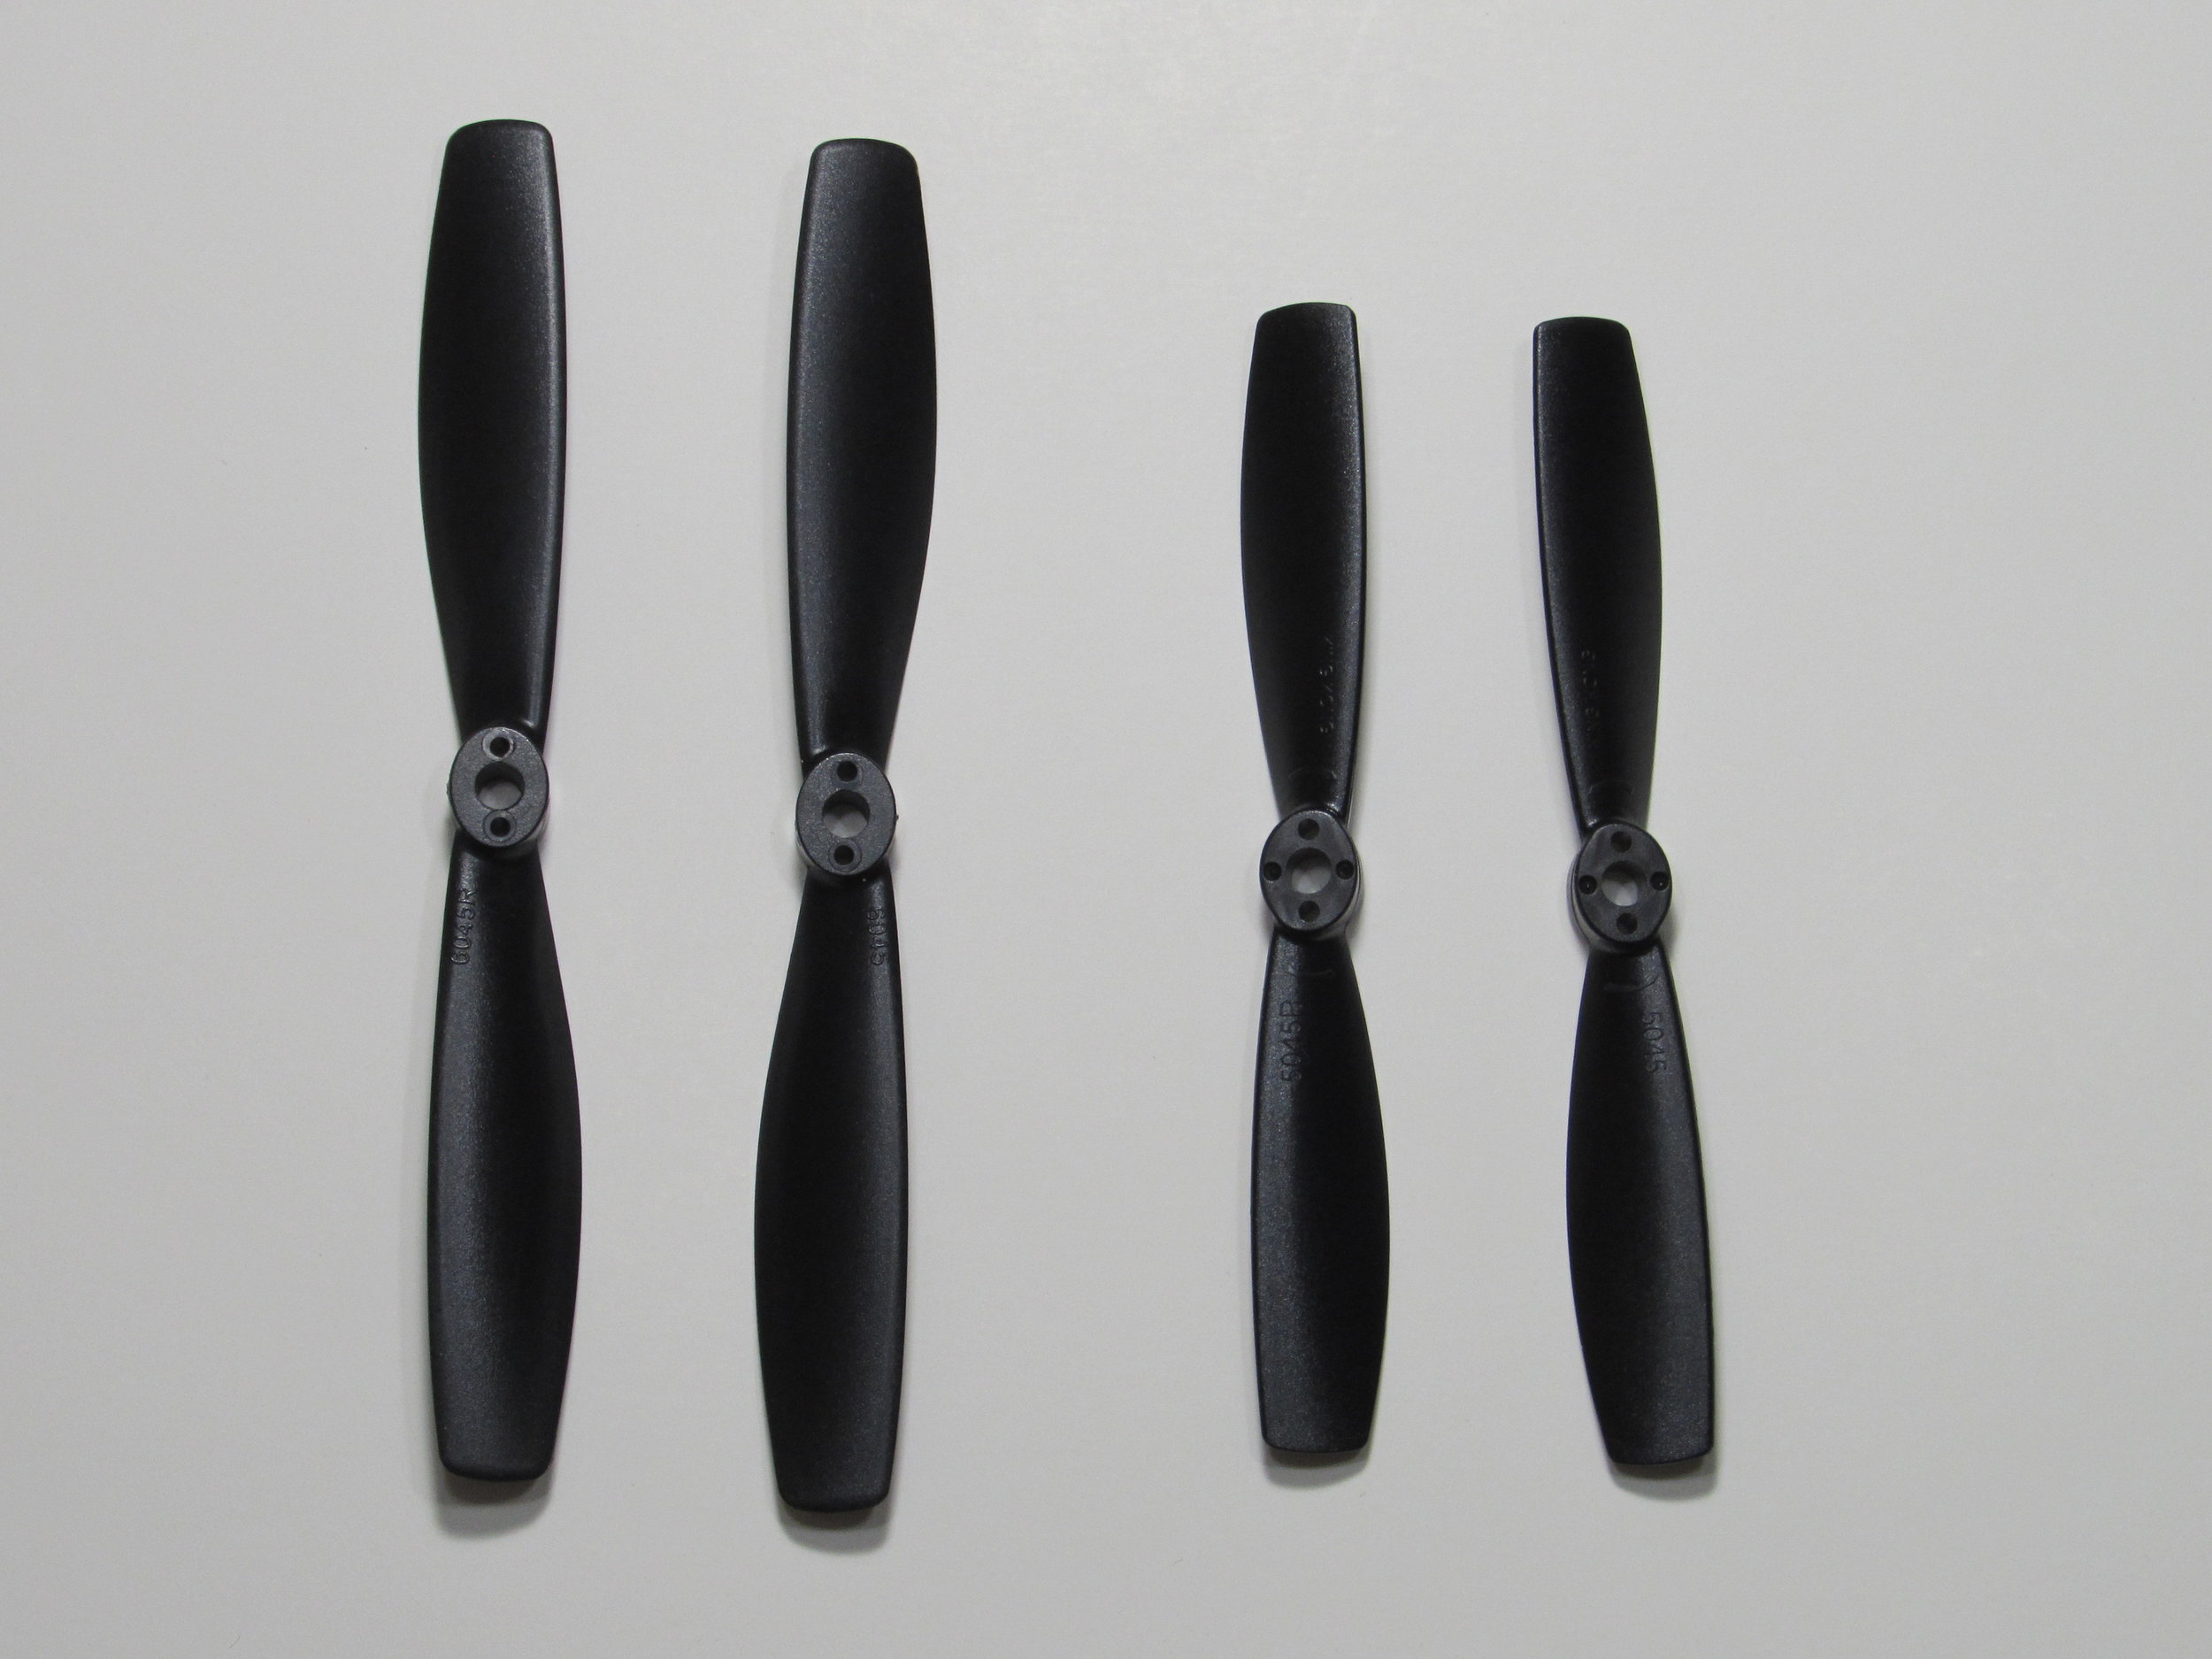
Several sets of propellers, or props, are included in your kit as well. Notice that there are two sizes: 5-inch and 6-inch. The advantage of 6-inch props is that they can carry a heavier frame, but they also put more stress on the motor, making the flight time of the battery much lower and the drone less responsive when flying. We generally recommend using a light frame with 5-inch propellers, but the 6-inch props may be better if you have a heavy frame.
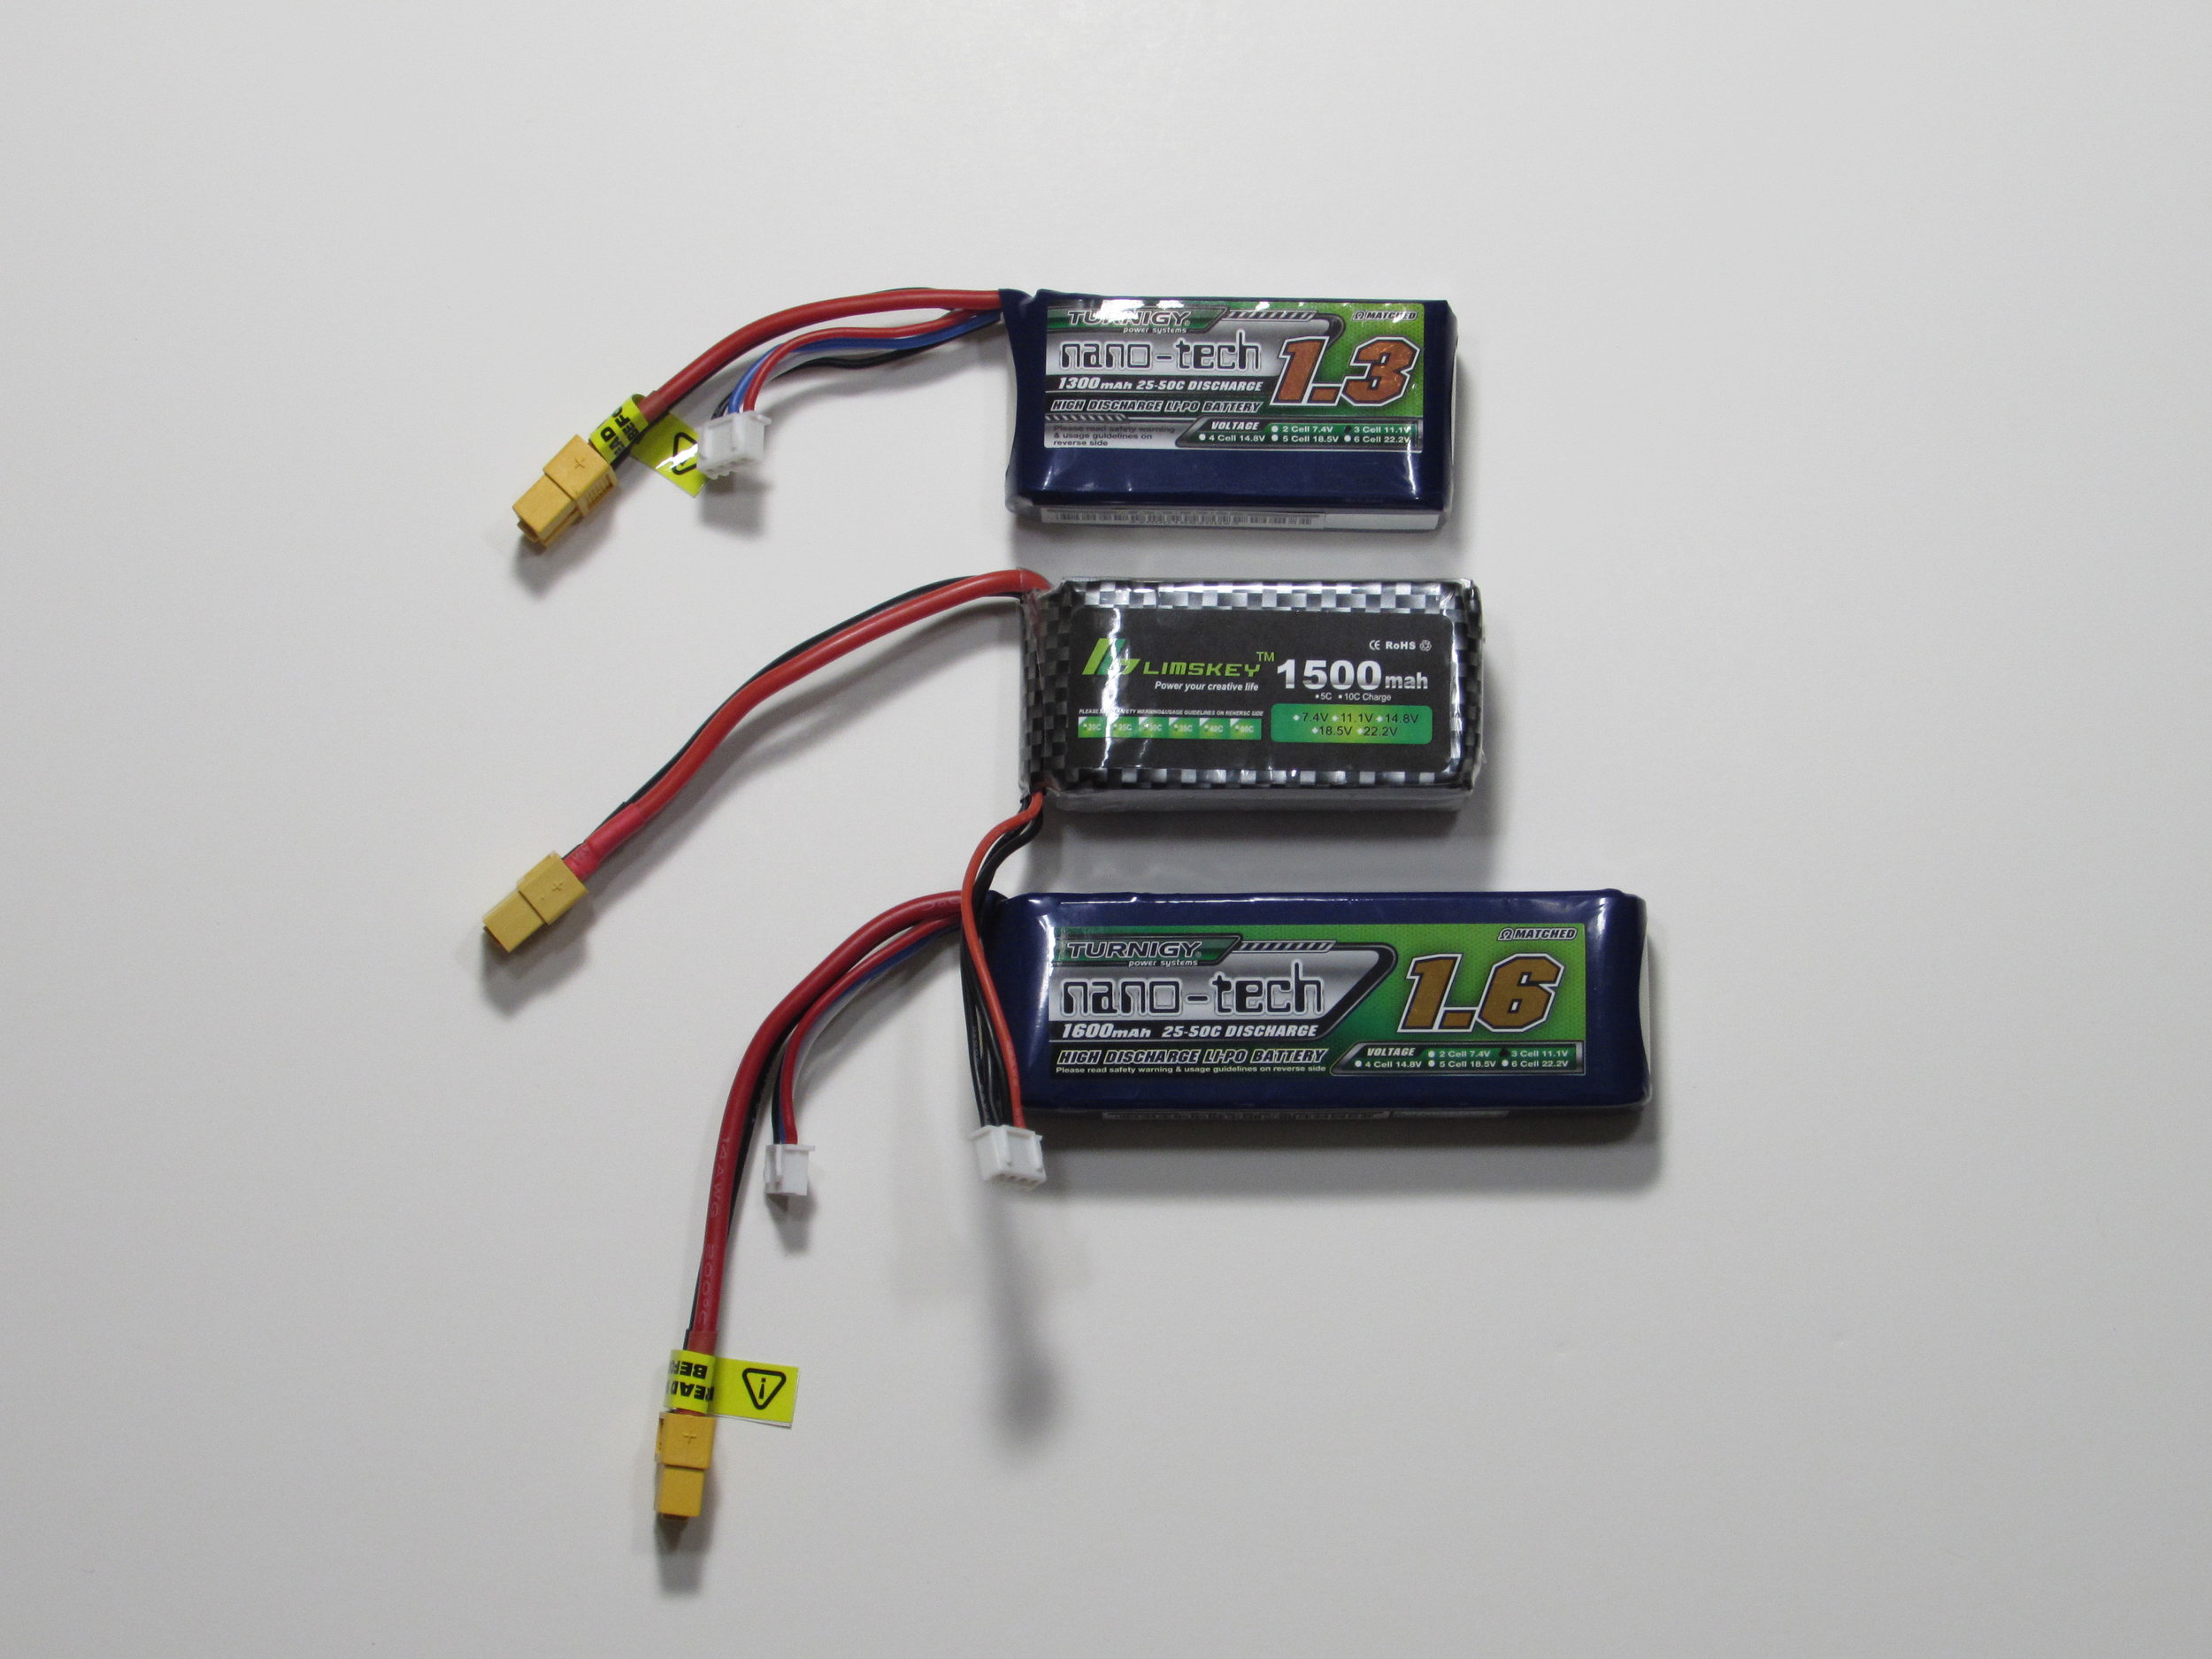
The LiPo battery packs power the drone. The milliamp-hour amount rates the capacity of the battery. If you look at the picture above, you will see that the milliamp-hour ratings on the batteries are 1300, 1500, and 1600 respectively.

The LiPo bag is useful for safely storing your LiPo batteries while you are charging them or not using them. This is the first time that these are being included in the DFG kit. A problem with a LiPo battery is extremely unlikely, but this is included as an extra layer of safety. We recommend you read our battery guide to learn more about how LiPo batteries should be used.

The battery checker is used to measure the voltage of the battery.

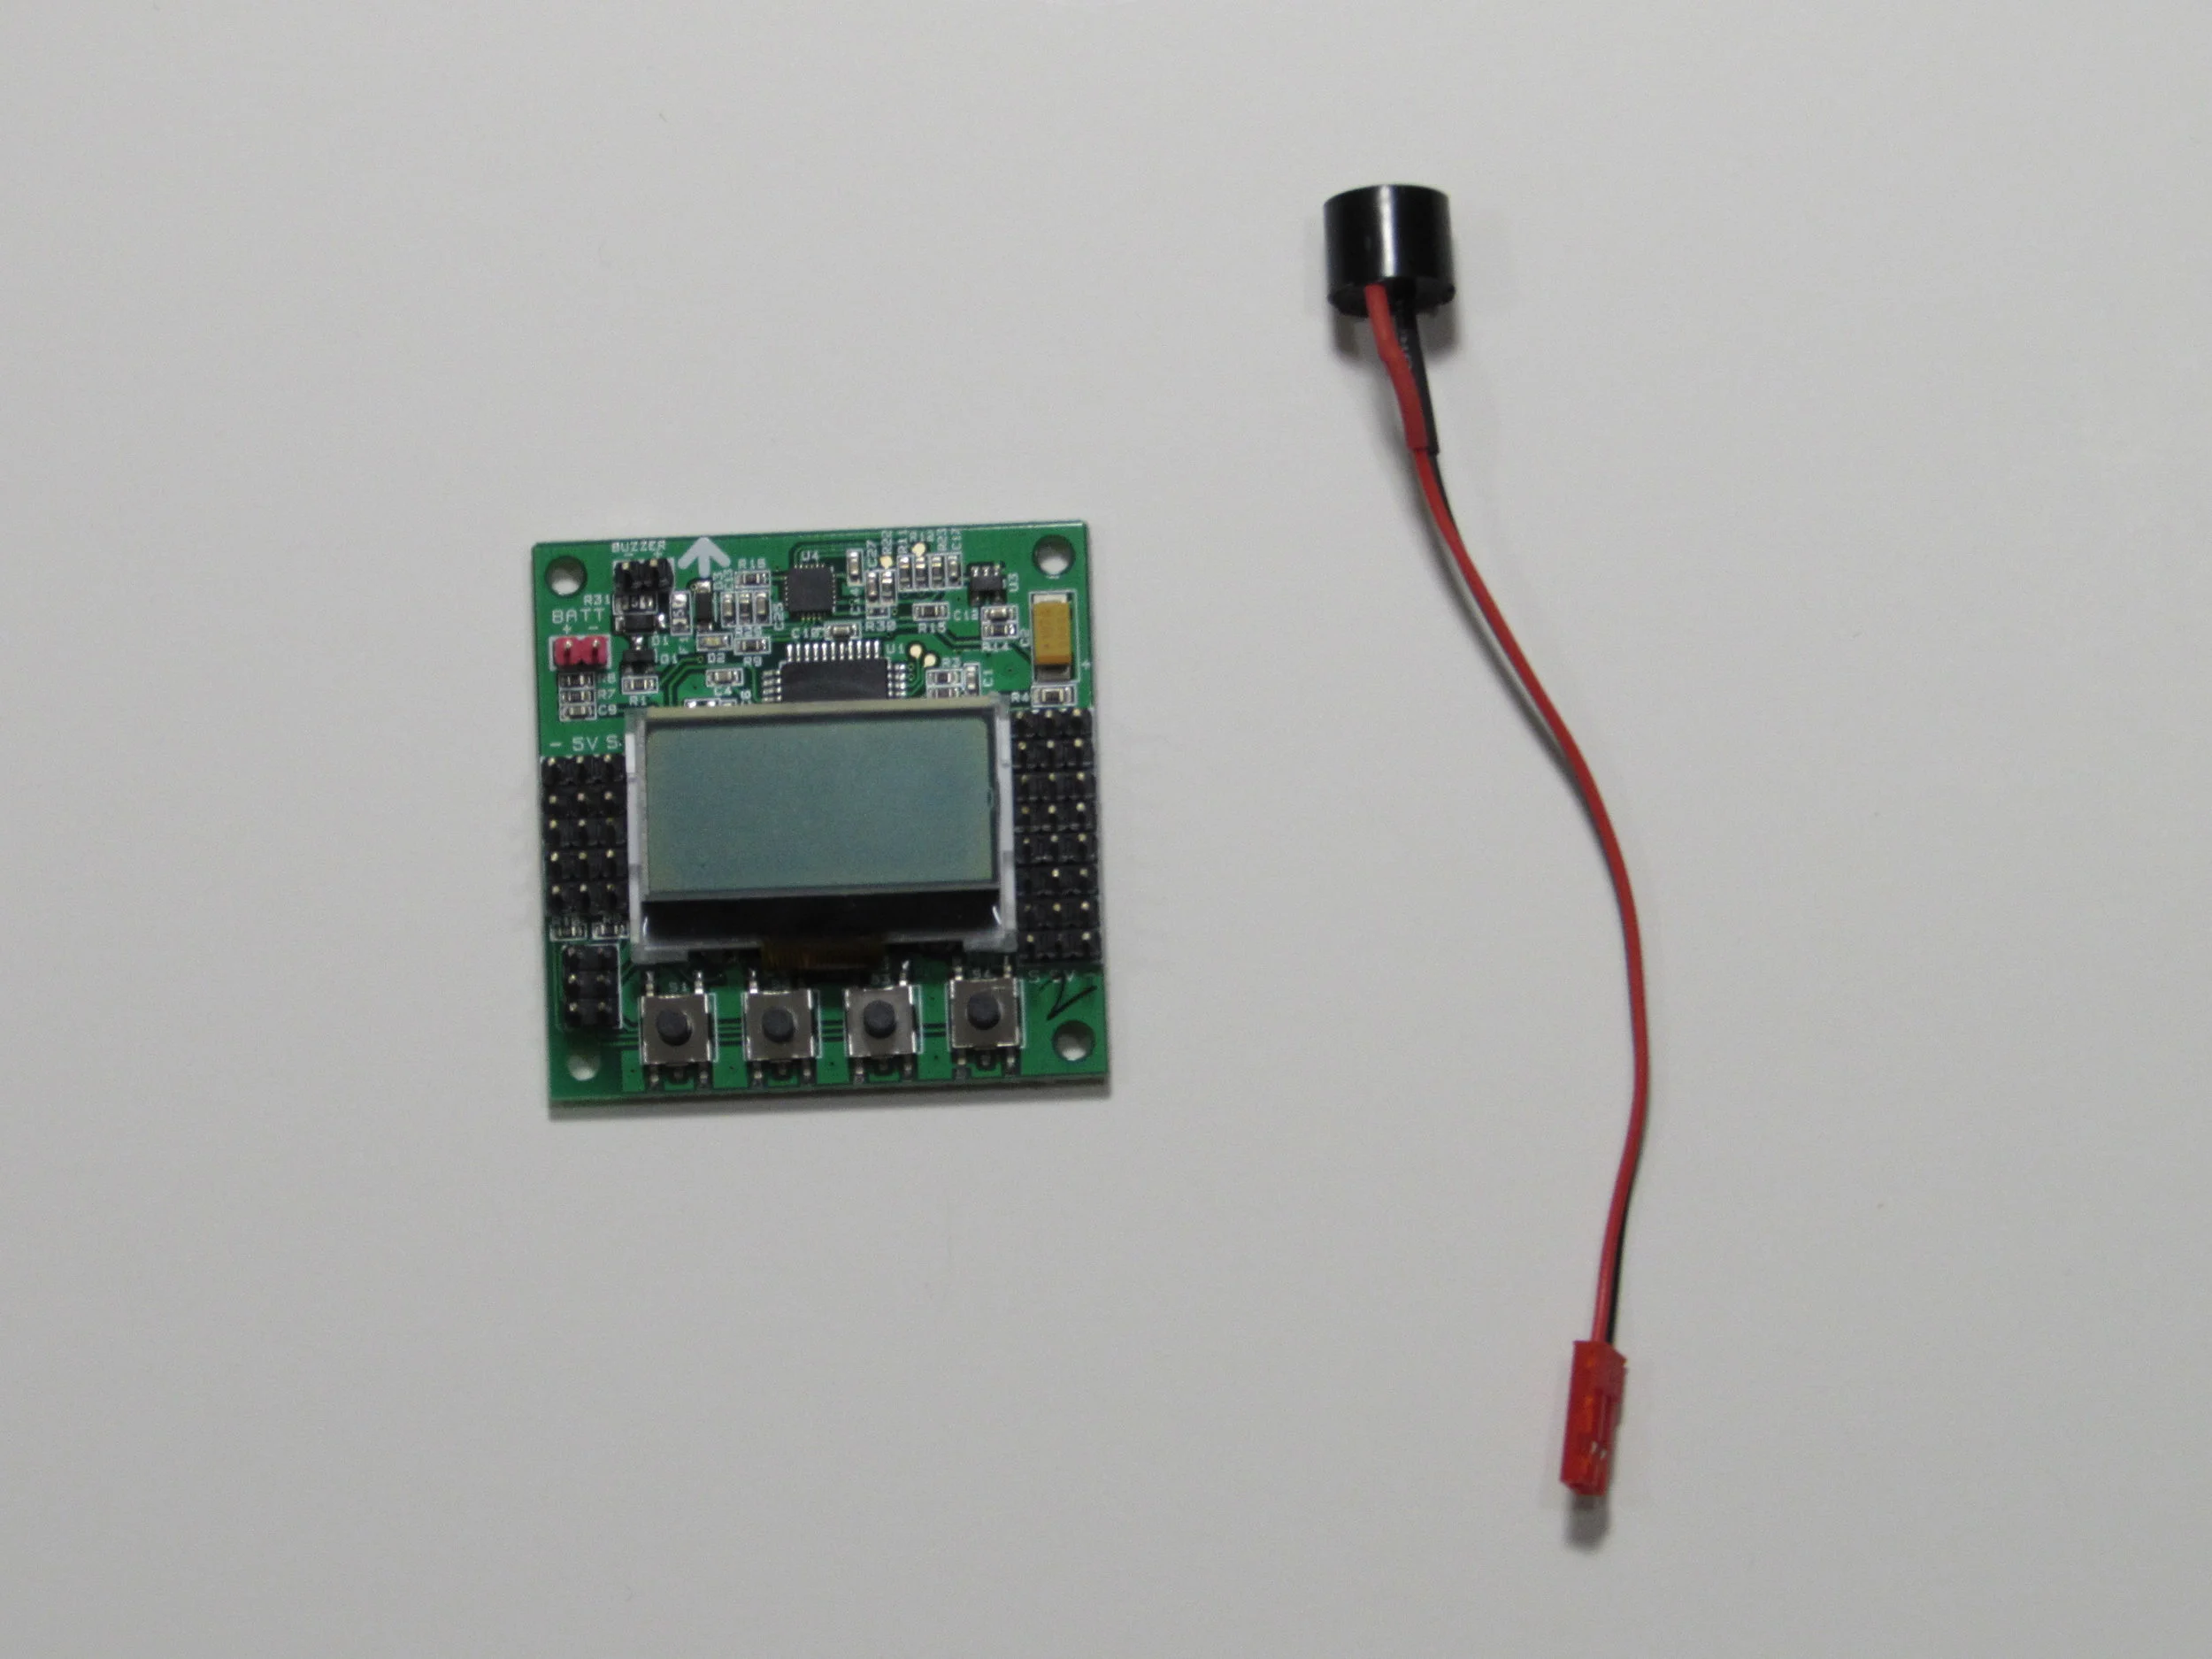
The voltage alarm can optionally be used to serve as a reminder for the pilot to stop flying. it is attached to the drone’s battery during flight, and beeps when the battery drops to a low voltage. Read more about it in the battery guide of this documentation.

The LiPo charger is used to charge the LiPo batteries in a way that each of the three cells in the batteries are at an equal voltage.


Some supplies are included for attaching the components of the drone.
Mounting tape is useful for attaching electronics to your frame.
Zip ties can be used to hold down wires, keeping the drone tidy and the wires out of the way of the spinning propellers during flight.

The transmitter (left) is used by the pilot to control the drone.
Included in the box of the transmitter, the receiver (right) is attached to the drone to pick up information from the transmitter and feed it to the drone.
Also included is a binding plug (middle), which can be used to “bind” or “pair” other transmitters and receivers together. You will likely not need this, but keep it because it’s nice to keep handy in case you swap out parts in the future.
The flight controller is the “brain” or “control center” of the drone. It takes information about the pilot’s stick controls from the receiver and uses information from on-board sensors about the position and movement of the drone to determine how fast each of the motors should be spinning.

The electronic speed controllers (ESCs) use power from the power distribution board and a data signal from the flight controller to make the motors spin at the right speed. One ESC is used per motor. You’ll notice that some of the ESCs may have different connectors. This is because some of them have the ability to power the flight controller. We’ll get more into that later.

The power distribution board takes power from the LiPo batteries and delivers it to the ESCs.

The motors are used to push the propellers. The movements of the drone are caused by specific differences in each motor’s speed, so each motor is individually controlled by an ESC.

Nylon prop nuts can be used to secure a propeller to a motor more securely than the plastic prop caps that come with the motor. If you’d like to use them, they can be secured onto a motor with an 5/16" (8mm) wrench.

Also included with your kit are connectors to link your receiver to your flight controller. In the build guide, we’ll go into how they should be plugged in.
Now that you’re familiar with the parts of your kit, let’s start building the drone. Click here to go to go back to the main page, where a video tutorial is available.